Hello, all! I unintentionally took the same hiatus that Amanda took. Mine was due to my health, work and slow internet. I have been busy sewing. Since she said it isn't done until you blog, I am blogging about my bag ladies. This the one I made for my sister.
Sorry, if you read this immediately. I hurried up and linked the post before it was done so I would make it before the deadline.
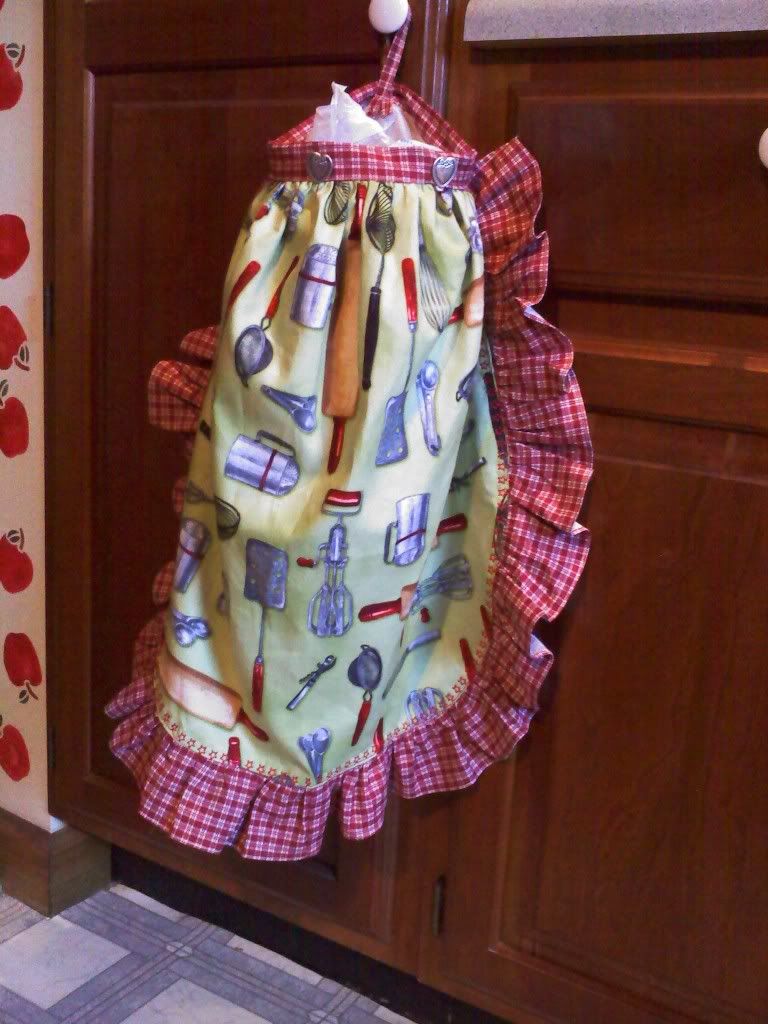
Anyway, I bought this fabric because I just couldn't resist it but I had no idea what I would do with it. Then I was looking through a Connecting Threads catalog and saw a couple of what I call "Bag Ladies". I thought that would be the perfect use for my fabric. I texted my sister my idea and she said, "Yes, that would look great in my kitchen." Smart alek! But, I had enough fabric I thought I could do two. So I did one for each of us. The above picture is hers.
Here is mine:
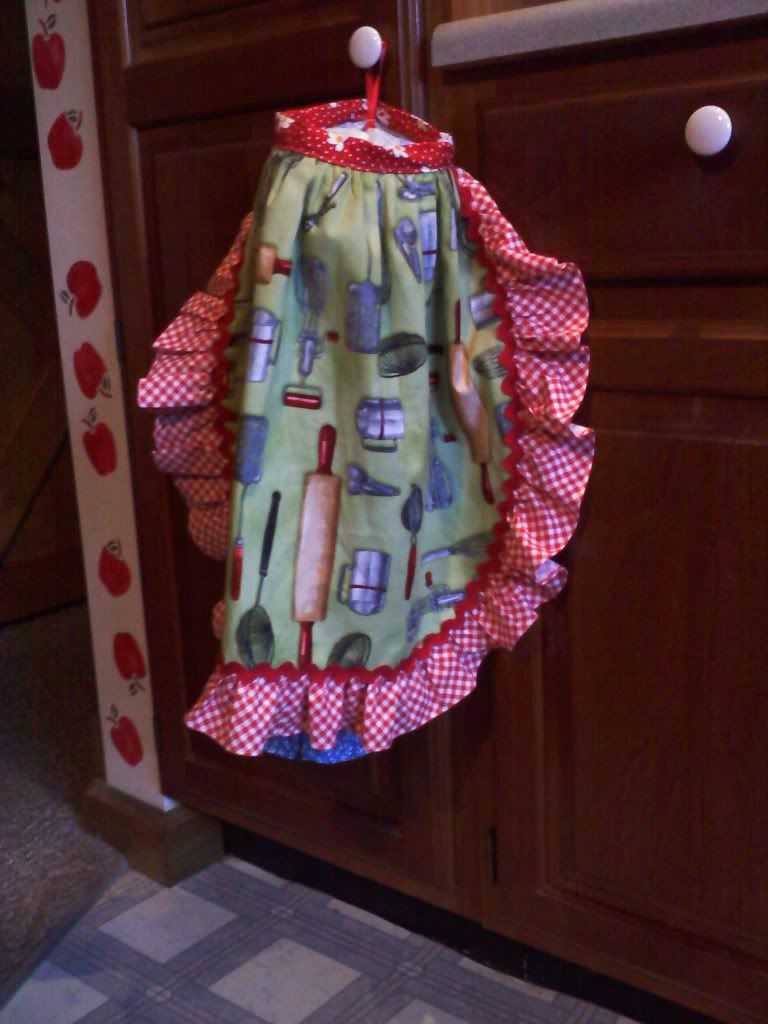
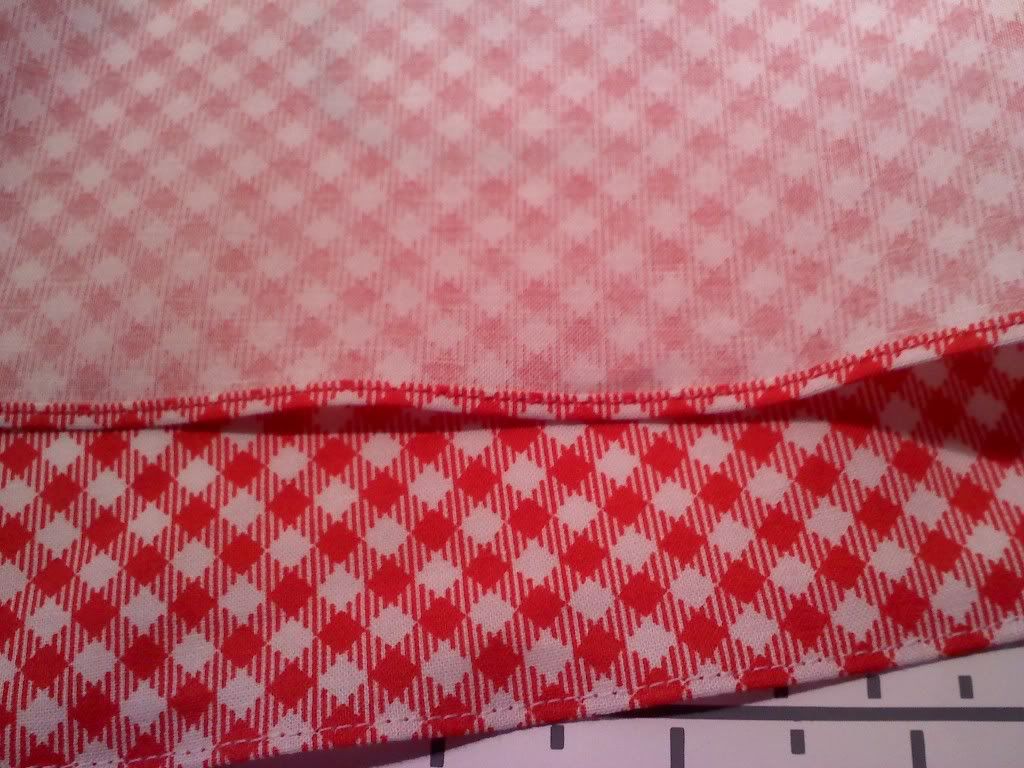
If you look closely you can see my bag lady has blue bloomers. That is where the bags are stored. I just used a fat quarter of fabric for them. I hemmed the short edge first. That was another super exciting moment. I got my rolled hem foot to work perfectly.
So, I did that. Sewed in some quarter inch elastic about an inch above the hem. Gathered my apron at the waist and attached it to the "bloomers" about 5 to 6" from each side all the way across. I CAREFULLY bunched it all together and sewed the seam of the bloomers down the back. Added the waist band to the top with a little gathering. And a piece of ribbon, rickrack or fabric to hang it by.
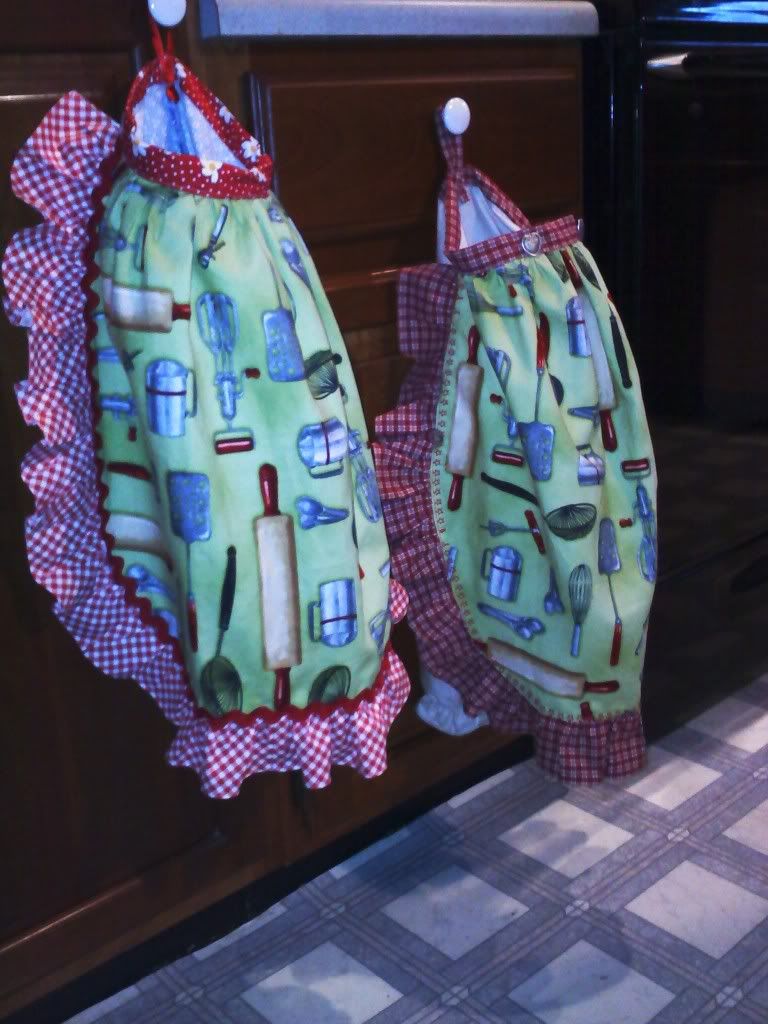
In this picture you can see a little bit of the bloomers on Sharri's.
I essentially used a fat quarter for each apron turned the opposite direction of the bloomers. I started out with the full fat quarter but eventually cut about 4 inches off because I was adding the ruffle.
My sister was surprised and absolutely loved hers. Mine looks so much better than the one I have been using for FIFTEEN years. The elastic was all worn out in it.
That was my finish it up a couple of Fridays ago but I just managed to post about it. Hope you enjoyed it.
Keep Stitchin'!
Those are so cute...I got me one last week at a craft show.Your are much cuter. Trish
ReplyDeleteVery cute! Hope you're feeling much better, too.
ReplyDeleteThank you, Ladies.
ReplyDeleteI am feeling somewhat better. I am looking forward to my vacation next month!